
Add a custom attribute value to a record
- Open the record from its browser.
- In Custom attributes, click Add new.
- Select an available attribute and enter or select its value.
- Repeat for other required fields.
- Click Save in the Custom attributes toolbar, or save the enclosing dialog where it provides the save action.
To remove a value such as text or a lookup choice, use the field’s Delete button and save the change.
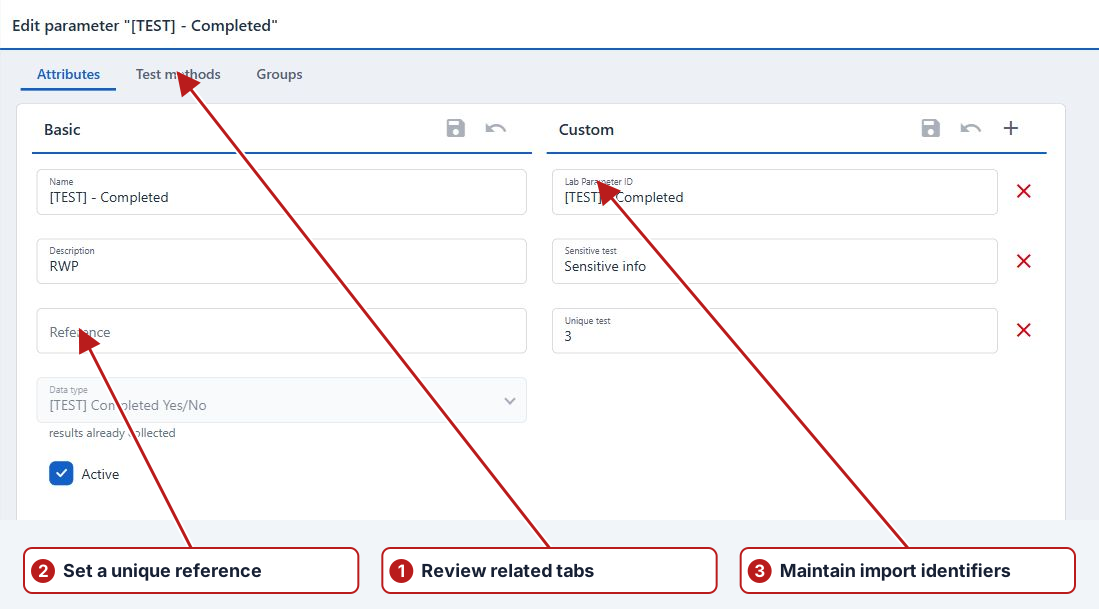
Check the entity and save panel
The attribute must be defined for that record’s entity type. After adding it, enter the actual value and save the Custom panel. Saving Basic does not necessarily save Custom changes. Reopen the record to verify the value before relying on it for an import or filter.
Attach a file to a Blob attribute
- Open a saved record and select a Blob attribute from Add new in its Custom panel.
- Click Upload file inside the field and choose a file. Its filename appears in the field.
Use Download file or Replace file inside the field. Use Delete beside it to remove the file and its value. Uploads, replacements and removals are saved immediately.