
Schedule reports
A report schedule selects the recurrence, output format, input values and users who receive an automatically generated report. In Data > Reports, select the saved report and choose More > Edit, then open Schedules.
Create a schedule
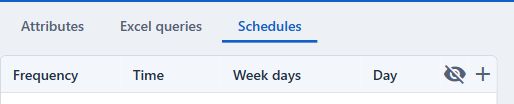
- Click Add new on the Schedules tab.
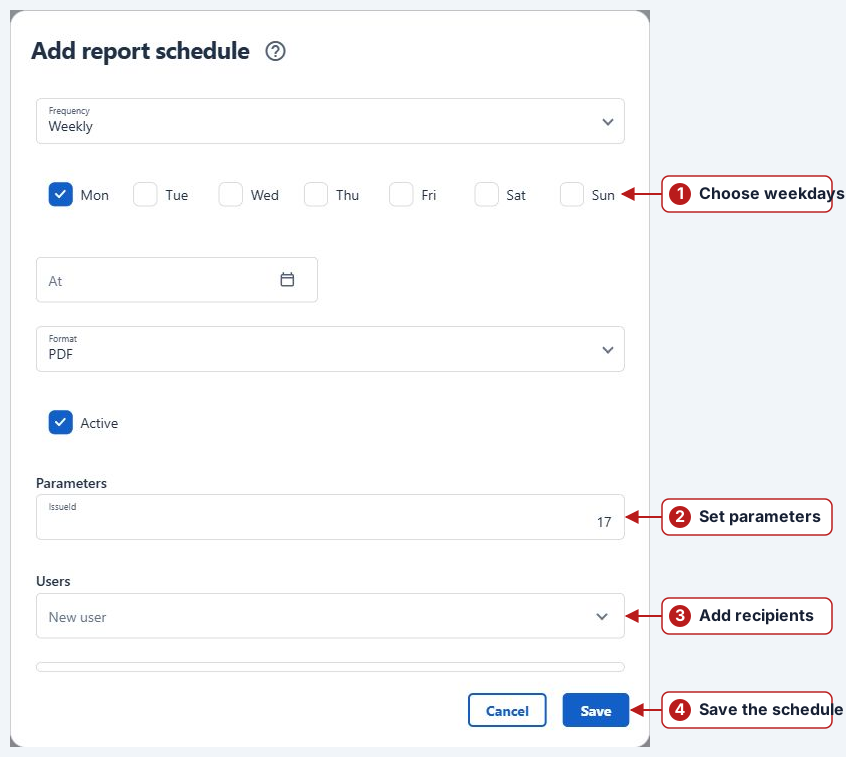
- Select Frequency. For Weekly, select the weekdays; for Monthly, select the day of the month.
- For Daily, Weekly or Monthly, set At to the intended time.
- Choose Format: PDF, Excel or Excel (from queries).
- Enter the report’s Parameters. Review each value against the intended report scope.
- Under Users, select a New user and click Add new. Repeat for each recipient and check that they appear in the list.
- Review Active, then click Save.
| Frequency | Additional choices |
|---|---|
| Hourly | The dialog does not show an At field. |
| Daily | At time. |
| Weekly | One or more weekdays and At time. |
| Monthly | Day of month and At time. |
If the report has roles assigned under Attributes > Basic > Roles, Aquantify emails the generated report only to listed recipients who belong to at least one selected role when the email is prepared. With an empty Roles selection, the schedule’s recipient list controls delivery.
Change, pause or remove a schedule
Open a schedule’s Edit action to change its timing, output, input values or recipients. Clear Active and Save to stop its future automatic runs; use Show inactive to find it again. Delete removes the schedule after confirmation.
Review delivery
If you are a recipient and have access to the report, open Data > Reports and select the report to find its scheduled runs in My runs. If a run failed, check the corresponding background job. Check report inputs, query definitions for query-based Excel, whether the schedule and recipients are active, recipient role membership and configured email delivery before creating another schedule.
See Manage report definitions and Run reports.