
Investigate a result that breaches a limit
A data-entry limit prevents an invalid result from being submitted. An alert limit allows the result to proceed after the required comment and breach confirmation.
Review the breach
- Check the value, unit, sample point and result date in the result editor.
- Correct an input error before saving. For a genuine alert breach, add the required comment and review the breach dialog.
- In Data > Tasks, use Go to issue when the result has a linked issue.
Link an investigation
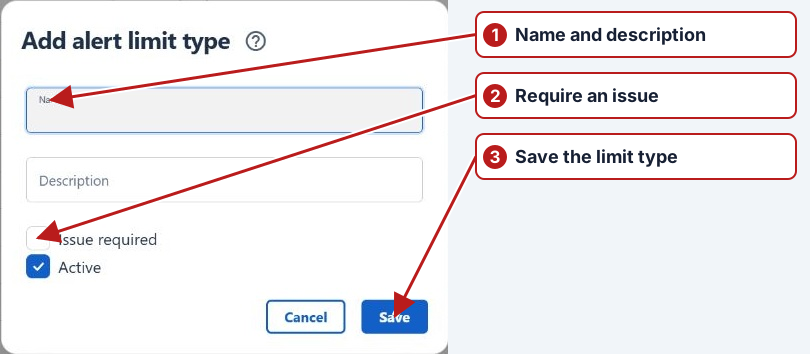
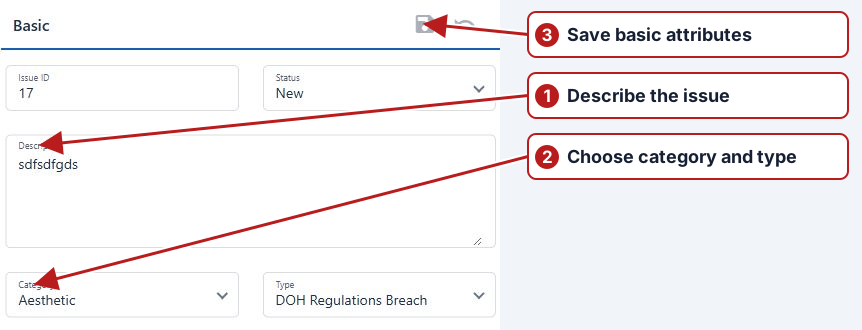
If a separate investigation is needed, create an issue and note its issue number. On a saved result, use the row menu’s Link result to issue, enter that number in Issue ID and click Link.
Preserve the result context
Check the value, unit, location and applicable limit, then inspect the linked issue after saving the result. Record the investigation’s cause and action. A comment explains the entry; the issue tracks corrective work and resolution.
Use the current result/issue workflow rather than assuming the Windows order of optional or mandatory issue dialogs. See Breach behaviour.