
Configure a Date range widget
A Date range widget publishes a selected period for SQL-backed Map and Table widgets.
- Add Date range through Dashboard > Configure and open Settings.
- Set Label to the text users should see.
- Set Field name to a distinct context name, for example
dateRange. - Save the widget and dashboard, then bind the receiving queries.
The initial period is This month if no saved range is available. The context has min and max date properties. Changing the selector updates them.
fromDate=dateRange.min
toDate=dateRange.max
Use these bindings in Map or Table, with @fromDate and @toDate in SQL. See SQL parameters and selector bindings for a complete example.
Choose different Field names for independent selectors. Other widgets use their own configured date settings and do not automatically follow this selector.
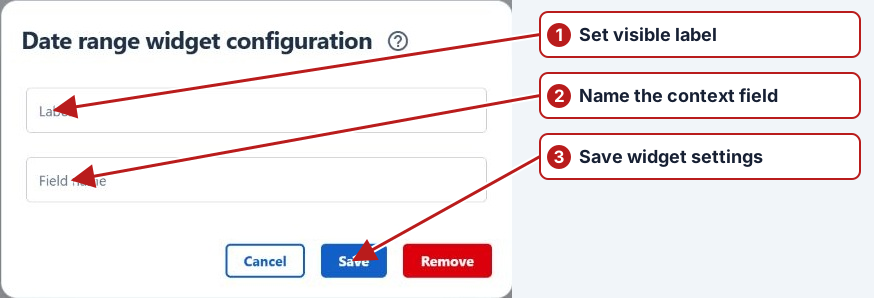
Use Configure > Save to retain settings and layout changes. Cancel discards the dialog changes; Remove removes the widget after confirmation. See Dashboard widgets for the full widget list.